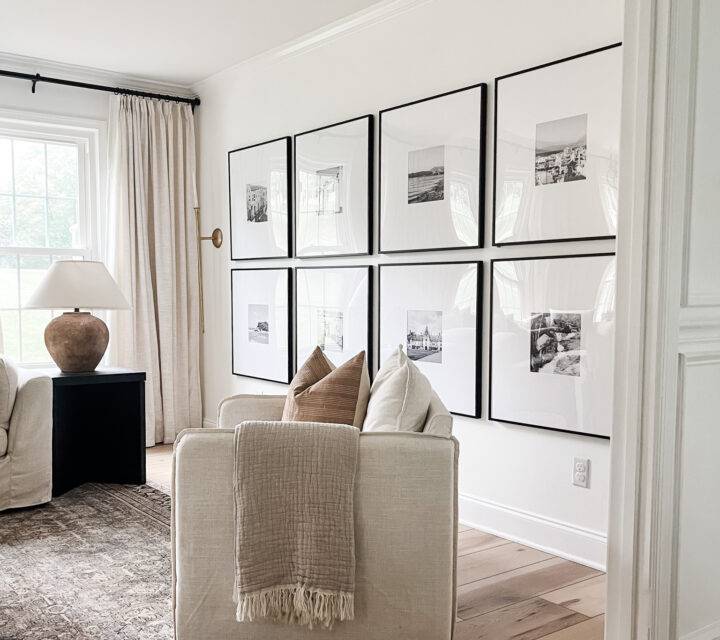
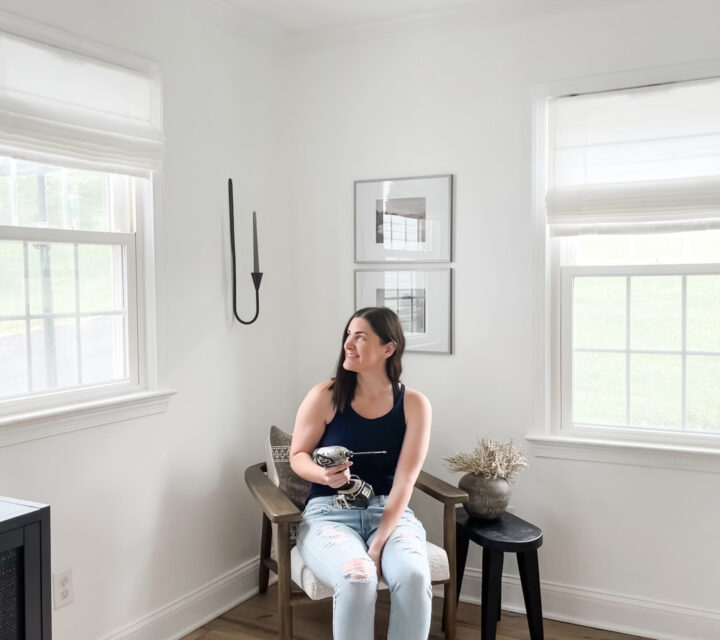
I’m obsessed with this Ikea hack for our DIY mudroom built in. It has been a long process getting our mudroom room to the point it is at now, but it was totally 100% worth the wait.
Come on in and take a look around our mudroom!

This post contains affiliate links. For more information, see my disclosure.
Let me first catch you up with how this all got started!
When we purchased our home six years ago, I actually didn’t have any ideas for what to do with this room. I figured we’d use it as an office or playroom, and we did for a short while. But, we have a room right next to our current mudroom area that we decided to use for our office.
Once we moved our playroom to our basement, the room where our current mudroom is now became just a spare room collecting dust.
Our home was built in the late 1970’s, and it has that typical entryway when you walk in the front door with a small coat closet. That’s fine and dandy, but we NEVER enter our home through our front door so it just didn’t make sense to have our coat closet at the front door entrance.
Our side door entrance is right next to the driveway so we always enter through our side door. And what is next to the side door? You got it…that spare room that was collecting dust.
It only made sense that we would convert it to a mudroom!
Jason and I put our head’s together and came up with a plan to completely redo the space.
Jason is pretty much amazing at all thing home renovation, so he knocked down the wall dividing the room from the hallway so it would be one whole space. Then, he installed new hardwood floors in the mudroom, which is the same flooring that spans the rest of our first floor and master bedroom.
We kept the original stone floors in the hallway and entrance because they do so much better with water than wood floors. It’s not good to get your wood floors wet, so we knew we’d need to keep the stone floors there, right as you enter. We also knew that we’d need to put down an area rug in our mudroom eventually, overtop the wood floors.
Now that you’re all caught up, read on to learn about this awesome IKEA hack!
DIY Mudroom Built in IKEA Hack
Step 1: Plan the DIY mudroom
I knew immediately that I wanted mostly wardrobe-style cabinets for our DIY mudroom so I could hang our coats behind wardrobe doors. I thought that the open, locker-style mudroom would be too hard to keep organized, and since neither Jason nor I like chaos, we knew wardrobe-style built in cabinets would be the way to go.
The first thing we did was draw up a couple ideas for our mudroom. Here’s what we came up with:


We actually got an estimate for custom built in mudroom cabinets first, based off the drawings above, but it was way more than our budget. That’s when we knew we were going to go the DIY mudroom route.
We kept the initial drawing design ideas for our mudroom and shopped based on that!
Step 2: Find wardrobe cabinets
I did A LOT of research on wardrobes. I looked all over the internet, and I found that IKEA offered the best priced option! A lot of wardrobes are not as tall as IKEA cabinet options. IKEA has floor to ceiling options, which are great if you want to do a built in look because all you have to do is add crown molding to the top of the cabinet; it will connect the wardrobe and ceiling, making it look like a built in cabinet!
After looking at all the options, I decided on the IKEA pax wardrobe, Flisberget light beige. We have beige tones in our home, so I knew the door color would work well with our home’s pallet and style.
We ended up driving to our nearest IKEA to pick up the wardrobes because they had them in stock there, and not online. At first I wasn’t thrilled that we had to drive an hour to get them since they weren’t in stock online, but in the end I’m happy we got to save on shipping costs, so I’m considering it a WIN! In the end, we spent less than $500 on two IKEA wardrobes!
*Update* – these wardrobes are much more expensive now.
When we got back home with our wardrobes, Jason and I immediately put them together. I’ve never put together IKEA furniture before and I didn’t realize that their instructions are all in pictures and no words! We figured it out pretty quickly and got them built and standing up.
They looked AMAZING! I knew they were a great choice!
Here’s what they looked like:

As you can see, they didn’t come with hardware, which we knew. I was going to need to find the perfect handles for the doors, but for now, we were very happy with the progress.
They are very close to our ceiling with makes them PERFECT for achieving the built in look.
Step 3: Build custom bench and storage cubbies
From there, Jason built a custom bench and overhead storage cubbies to fill the remaining space between the wardrobes.
For the bench, we opted to have a closed-off bench. It is just a bench; it doesn’t open for storage purposes or anything, and that is fine with us. We wanted to make the middle section as simple as possible to build, but one that also looked really good.

The bench was made first out of 2 x 4’s, and then Jason added MDF over it. The cubbies were just made of MDF only. (Excuse the random babydoll below! haha).

Step 4: Add board and batten
Jason then added board and batten on the wall and the bench. Jason actually had done board and batten in my office awhile ago, and we thought we would go ahead and carry that style through our home since we already started it!
Here’s a tutorial to make DIY board and batten.

Step 5: Add crown molding & then caulk
He then installed crown molding around the room, which brought everything all together!
Once that was done, Jason caulked all the gaps. This is the key to making it look finished. Don’t skip caulking or your DIY mudroom built in will look unfinished.
Step 6: Paint
The last step was painting. I painted the middle section white to blend with the side of the cabinets. Remember, our cabinets are white but have beige doors, so I just continued the white tone between the cabinets. It worked perfectly!
You can see below where I had started painting the cubbies. It took a few coats of white paint to cover the MDF.

Step 7: Add hardware
The very last step is installing all the hardware. You can see above that I actually installed the hardware before this, but really, you should wait for your project to be done completely before you install the hardware. You don’t want to get any paint or caulk on your nice hardware!
For the wardrobes, I found these 11.5 inch door handles in stainless steel, which are PERFECT for the wardrobes. They fit right where the two horizontal molding pieces are in the middle of the doors…. it was like they were made for the wardrobe!

For the hooks above the bench, I choose to use three satin nickel hooks, and they work perfectly in that space.

We are thrilled with how this budget-friendly DIY mudroom built in came together using an IKEA hack!
Here’s the final result or our DIY Mudroom:

Just look at all that storage space:

I added these white brown 11” x 14” bins to the overhead cubbies. I loved the color of them for the room and they fit like a glove!


The addition of the area rug and custom bench cushion really completed this space!


We absolutely love how this IKEA hack turned out!
See the rest of the mudroom entryway space here.
SHOP OUR DIY MUDROM
(some links below are affiliate links)
Ikea wardrobes
Area rug
Wood crates
Grey textured throw pillow
White fuzzy lines throw pillow
Hooks, satin nickel
Wood floors
Eucalyptus stems in vase
Bench cushion – custom cushion by Patio Lane in fabric cove pebble
Make sure to also check out these posts:
– DIY Chalk Paint Furniture Tutorial for Beginners
–How to Decorate Around a TV Using a Gallery Wall
–How to Make a DIY Board and Batten Accent Wall


