Find out where to get cheap wall art that looks absolutely beautiful!
Lately, I have been really drawn to neutral landscape photos, abstract artwork, and, in general, nature scenes.
I wanted to add two framed art work pieces to our new kitchen nook area, and I was on the hunt for a budget-friendly way to add them to our space.
I did a little research and found some beautiful art prints for super cheap, that are also beautiful!
Here’s the end result:

This post contains affiliate links. For more information, see my disclosure.
COST BREAKDOWN OF WALL ART
Here are some more expensive options I’d been eyeing for the space:

These more expensive options range from around $40-$400.
The total cost of my project was less than $8.

I spent $5.59 for the digital files for the prints and $1.78 for them to be printed at Staples, making the exact total $7.37 for BOTH prints.
I had the frames from a couple years back. I had bought them at either TJ Maxx, Home Goods or Ross.
WHERE TO GET CHEAP WALL ART

The best place to get cheap and beautiful wall art is Etsy! There are so many beautiful digital files you can buy for extremely cheap.
After you purchase the digital files, you get them sent to your email and you are free to print them as you wish.
The nice thing about this is that you can print them out in any size you want. You could use the same print and print it out in a couple different sizes to use in different rooms! That would be a great way to save money on wall art!
This is the landscape print set I chose for my project.
Here are some other beautiful, budget-friendly art print options from Etsy:
One of the great things about buying from Etsy is that you are supporting a small shop!
WHERE SHOULD YOU PRINT THE FILES?
I had my digital files printed at Staples and then I picked them up an hour later. It was very easy.
Depending on what size you want to print and the type of paper you want to print them on, you can print them at a few different places.
Historically, I’ve printed photos at CVS but they don’t offer nearly as many printing options as Staples does.
I wanted my files to be printed 11×17 on a thick, matte card stock, which meant I’d needed to use Staples, not CVS, for this printing project.
On the Staples website, I chose to print using the professional prints option.
You’ll just follow the Start Project tab, upload your files, select the paper size and orientation (I chose 11” x 17” and landscape, respectively. I also unchecked “scale to fit” and “double sided.”).
I then selected “Premium & Specialty Paper” and chose “Cover White” which is a 67lb. heavyweight cardstock, with an uncoated finish.
I then selected “Color Ink” “No Binding” and “No Finishing” on the next three screens.
I selected my local Staples for pick up and that was it! My order was ready within the hour and I went and picked up the prints.
It only cost me $1.78 for BOTH prints to be printed out at Staples on a nice quality paper.


You could also choose an online printing service like Vistaprint or Shutterfly. Both of those are great options!
ASSEMBLING THE CHEAP WALL ART
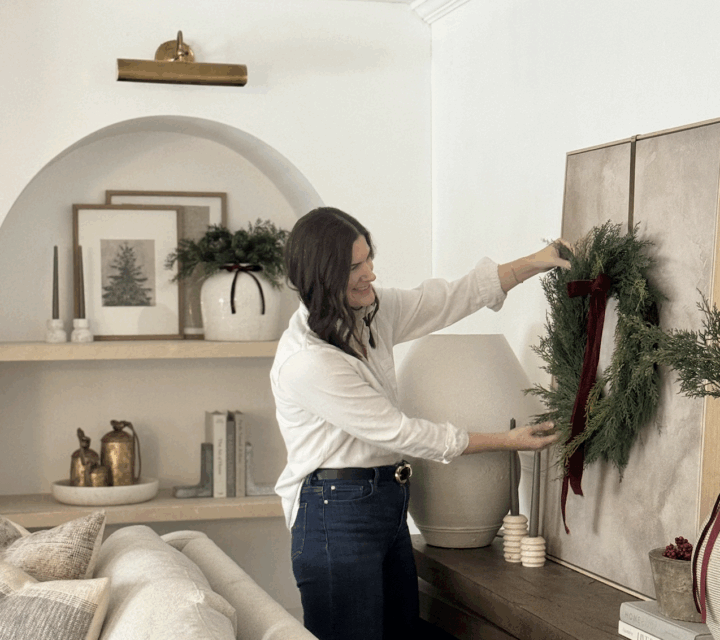
Here’s how the frames looked initially. These were in my bedroom for awhile. Here’s the rustic tree wall art idea that I used in these frames during Christmas time.

I took them down and decided to use the frames for this project!
Here’s how I assembled this wall art from Etsy:
STEP 1: Remove everything from frame
I wanted my wall art to look like a painting so I removed the glass from the frame as well as the matte board.

STEP 2: Cut prints to frame size
I then used scissors and cut my prints to the exact size of the cut-out of the frame.
STEP 3: Assemble
To assemble these, I placed the photo in first. I wanted to keep the glass and matte board in the frames so that I wouldn’t lose them in case I ever want to change up the art.

So, I taped the matte board to the back of the photo, so that the photo wouldn’t shift around, and then the glass and then the back board.


STEP 4: HANG UP
Once they were assembled, I hung them up on the wall.

I LOVE how these gave this space some life. They were just what this small wall in my breakfast nook needed.

Pin it for later!