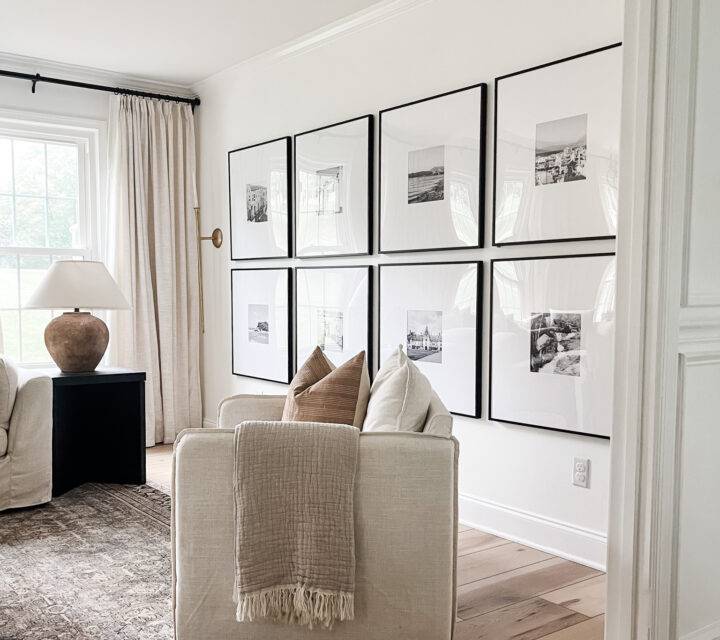
My window treatments in my dining room are up and I’m thrilled with how they came together! Grab a cup of coffee and join me for a little tour in the dining room with my new pinch pleat curtains.

This post contains affiliate links. For more information, see my disclosure.
I’ve been working on a small dining room reno for a little while now. I started my dining room makeover by painting it white, buying new dining room chairs, and switching around the furniture. I knew I wanted to update the window treatments as well for the renovation.
My Window Treatments Include:
Curtain rods
I ordered two antique bronze curtain rods in size XL, with a 1.25” diameter.

I chose these ones because I love the bracket style. Three brackets came with each of my curtain rods. The rods and brackets are technically antique bronze colored but they look black in person.

Finials
I ordered a pair of finials, which are the end caps that screw onto the curtain rod. I only needed two because I placed two of the rods directly next to each other to make it seem like one long rod. I only needed a finial on either end of the completed rod system.

Curtain Panel Rings
I ordered curtain panel rings from Amazon in the color black. I could’ve ordered the matching rings to the curtain rod set, but I found that these ones are very similar and they’re much cheaper. Now that they’re up, I realized they work just as great, so I’m really happy with my purchase of these!

Pinch pleat curtains
When you select these pinch pleat curtains, you have the option to customize them based on color, header type, finished width, and finished length.

Here are the customizations I chose for one of my panels:
Color : 1908-2 (Ivory White)
Header Type : Pinch Pleat
Single Panel Finished Width (Inch) : 60
Single Finished Length (Height) Inch : 92
I also ordered three more with various finished width options.
What I learned about buying custom curtains:
After I got them in, I realized I didn’t have enough curtains.
When I ordered my curtains, I ordered them with too short of a “finished width.” I thought I wouldn’t need super wide curtains because I wasn’t really planning on pulling them closed.
You can see below where I have them pulled open vs. where they are scrunched together.

I bought a ratio of about 1:1 for the width of the wall to the width of the curtain panel. I should’ve gotten double the width of the wall area, or a 1:2 ratio.
Luckily, it all ended up being fine because I could place two curtain panels side by side, making them appear wider. I bought two panels that were each 30” wide. I ended up putting both 30” panels in the 30” end space, which means it took about 60” of curtain panel width to cover the 30” space on the wall. See below.

I’m now in the process of buying a couple more curtains to fill the rest of the space!
Installing the window treatments:
Once all the products came in, I laid everything out on the floor to get a good idea of how they would all look together. I chose to put the brackets on each end and in the middle of each window.

I wanted the rods to have a continuous look across the wall, so we installed two of the brackets next to each other in the middle of the middle window. That way, it looks like there’s one continuous, long curtain rod (even though there are two rods total).

The curtains came with plastic clips that slide into the curtains.

The plastic clips have settings on them so you can slide the setting high or low. The lower you push the setting, the more it’ll lift the curtains off the floor and give that “forward tilt” look on the pinched pleat top section.

Having the ability to change the settings on the curtains is great because this allows you to move the curtains up and down, so you can get the exact height you need of the curtains so they hit your floor just right. This means that when you order your curtains, it’s OK if they aren’t exactly the height you need.

The ones I ordered were a bit long, but it worked out perfectly because I was able to bring them up by lowering the plastic clip settings. This also made the pinch pleats at the top tilt forward, which I think is a really pretty look.


I’m so happy with how they look in the dining room! I have a couple more curtains to get to finish the other half of the wall, but I’m thrilled with the progress so far!


