This post is sponsored by Pease Doors. As always, all opinions are my own. This post contains affiliate links. For more information, see my disclosure.
We recently installed a new front door, and it makes such a difference to not only the look of our home but also the amount of natural light that we now get! We are so pleased with our new front door; I just wish we had changed it sooner!
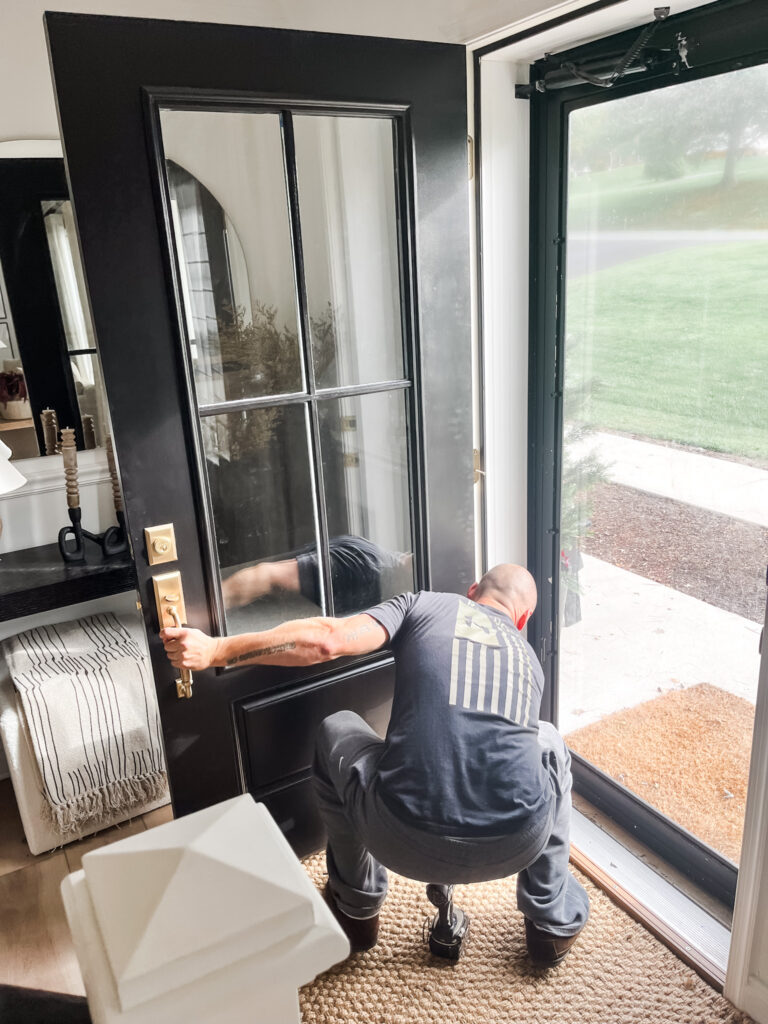
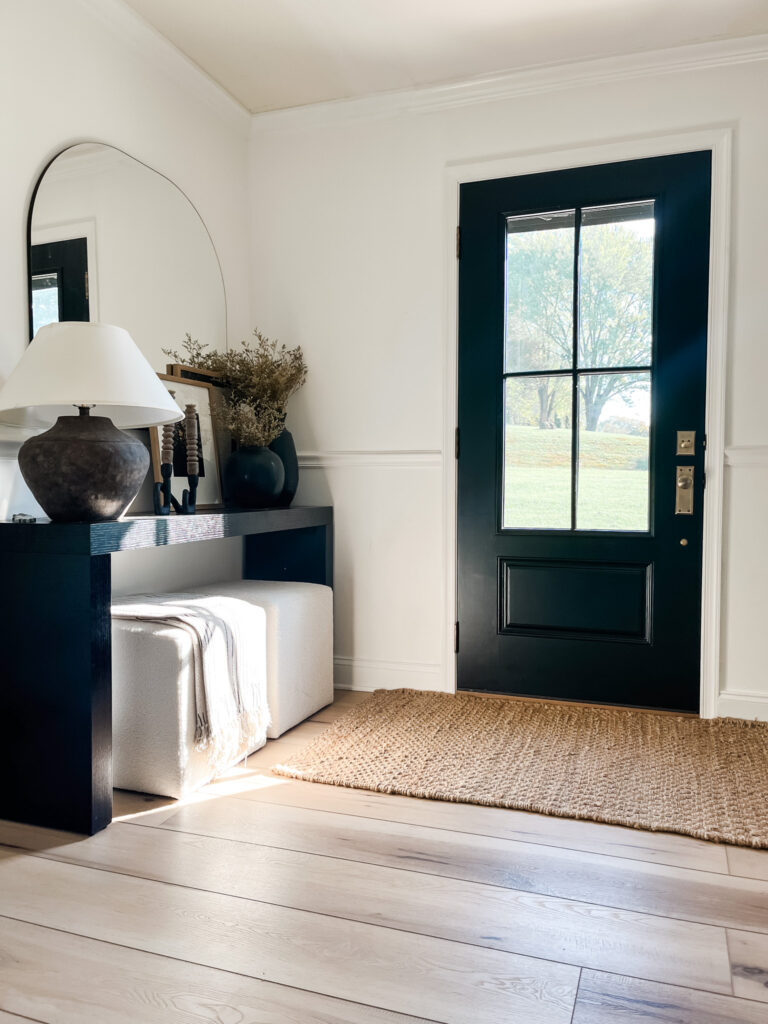
Here’s a look at our beautiful new and modern front door from Pease Doors.

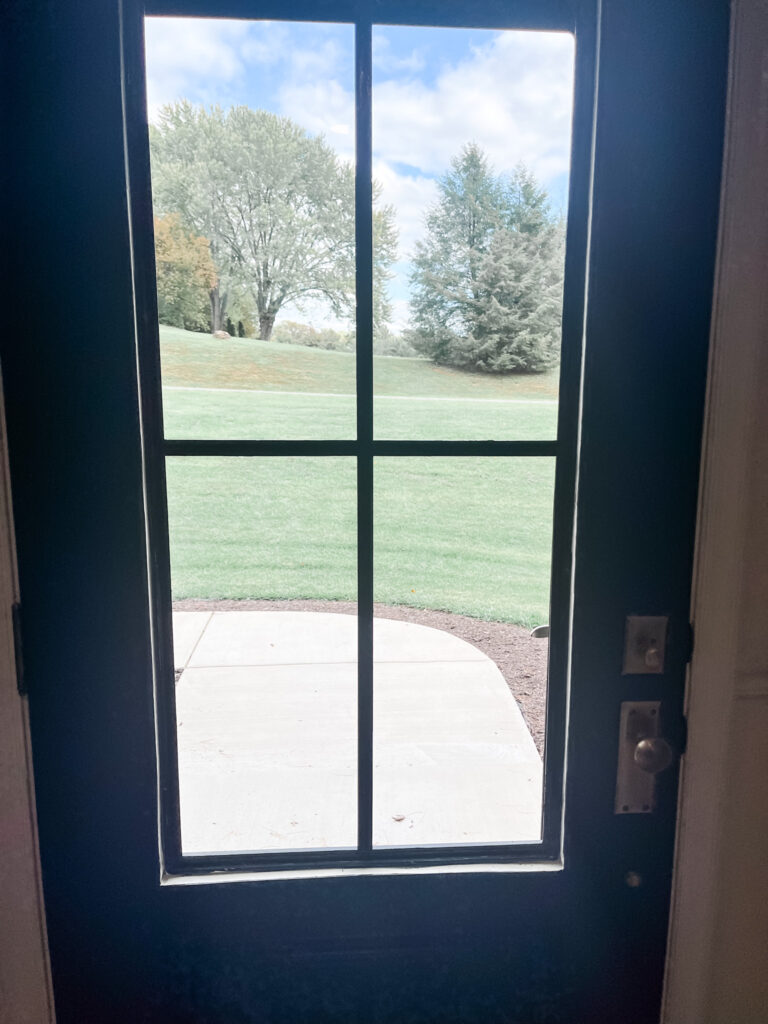
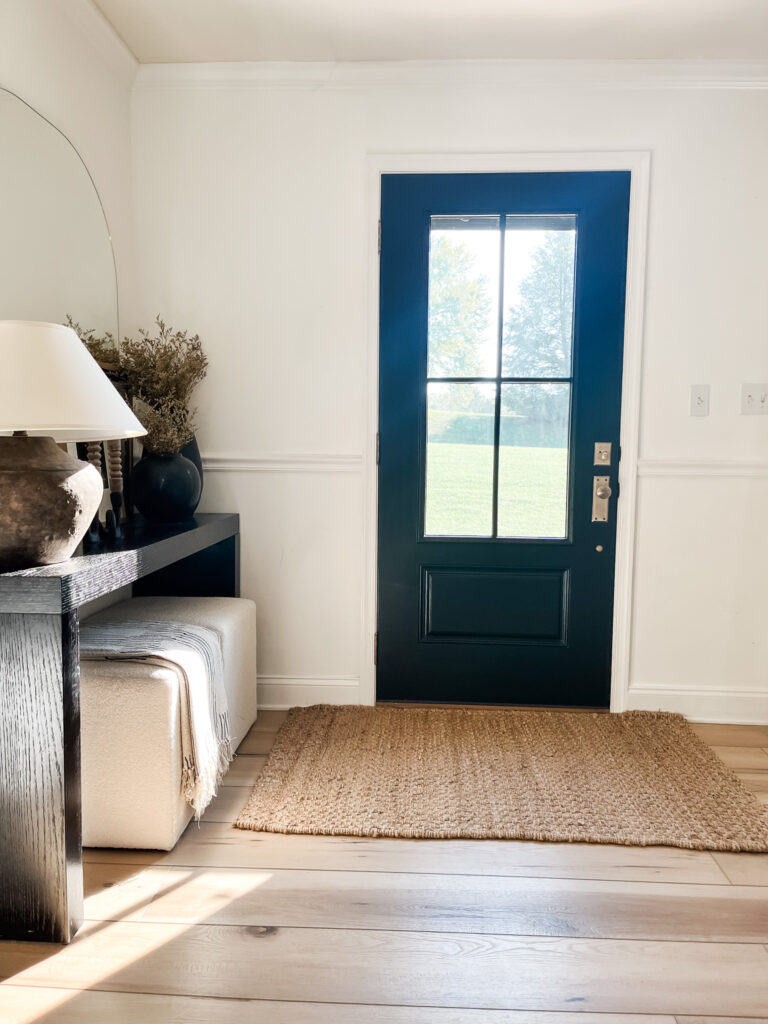
For reference, you can see our old front door below. Our old front door did not let much natural light in and it was warping on the outside. It was time to make the change to get a new front door, and we had a few things we really wanted with a new front door.

When searching for the perfect front door, we looked for the door to have a modern look with clear glass. We also wanted to have more light coming in our home, so we wanted the glass portion of the door to be substantial. For a front door, I personally love the 3/4 look with windows, which means having the top 3/4 of the door filled with windows.
DOOR SELECTION
I came across Pease Doors and noticed how many beautiful options they have! Not only do they have beautiful doors, they also have lite kits for doors, which is great if you just want to add a bigger or different window to your existing door!
We went with:
- this entry door slab (35.75″ x 79″ / Without Glass: 23″ x 49″ Cut Out / No Hinge or Lock Prep)
- the clear 4 lite glass and frame kit (24″ x 50″ / Standard Clear Glass)
- this door sweep (Bronze / 36″)
The total cost for this order was $762! That’s an amazing price for the quality and elevated, modern look of the door. I love that their doors are not only quality-made, they are also affordable.
PAINTING OUR NEW FRONT DOOR
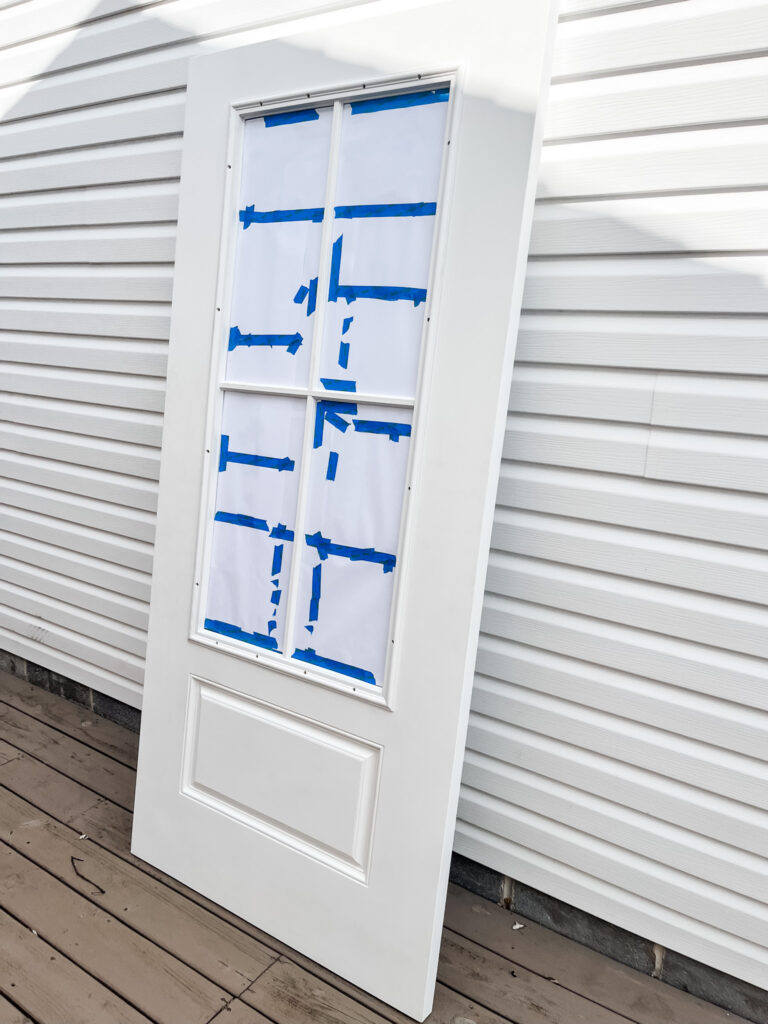
We received our new door slab and glass and frame kit very quickly. The shipping was so fast! Here’s a look at the door right before we painted it. We taped up the glass to prepare for painting.
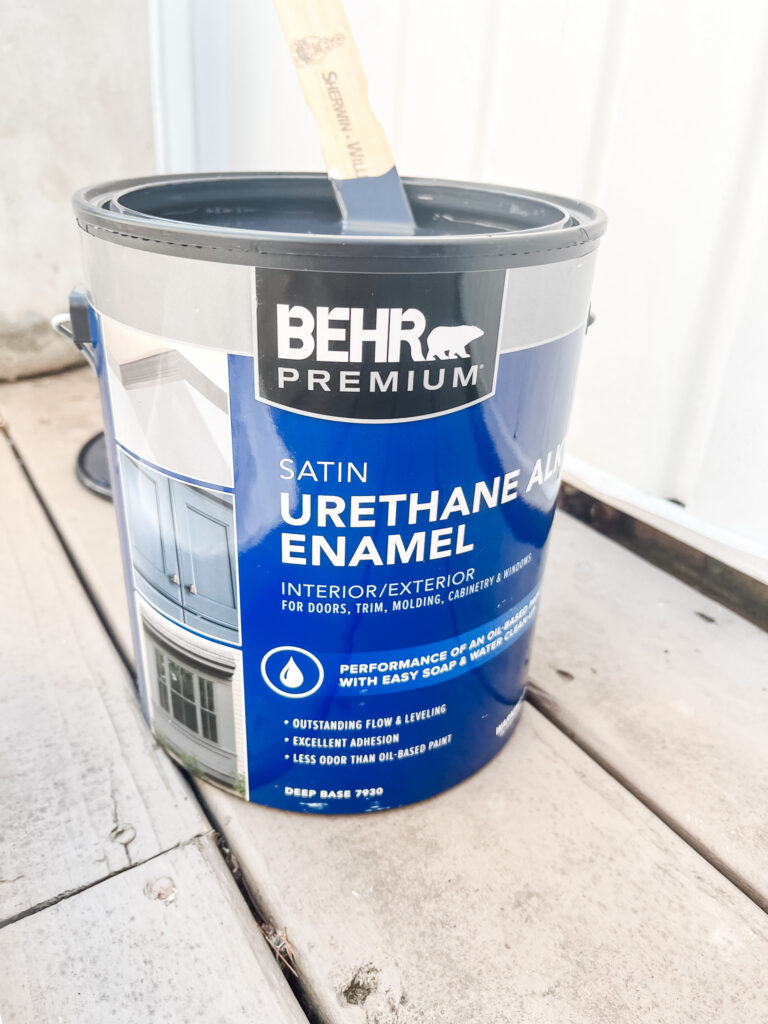
For the paint, we went to our local Home Depot and grabbed the Behr Premium Satin Urethane Alkyd Enamel paint, which is specifically made for doors, trim, molding and cabinetry. Though it looks gray in the photo, the color we got was black. I was a bit skeptical when I saw the grayish tone, but once the paint dried on the door, it looked black!
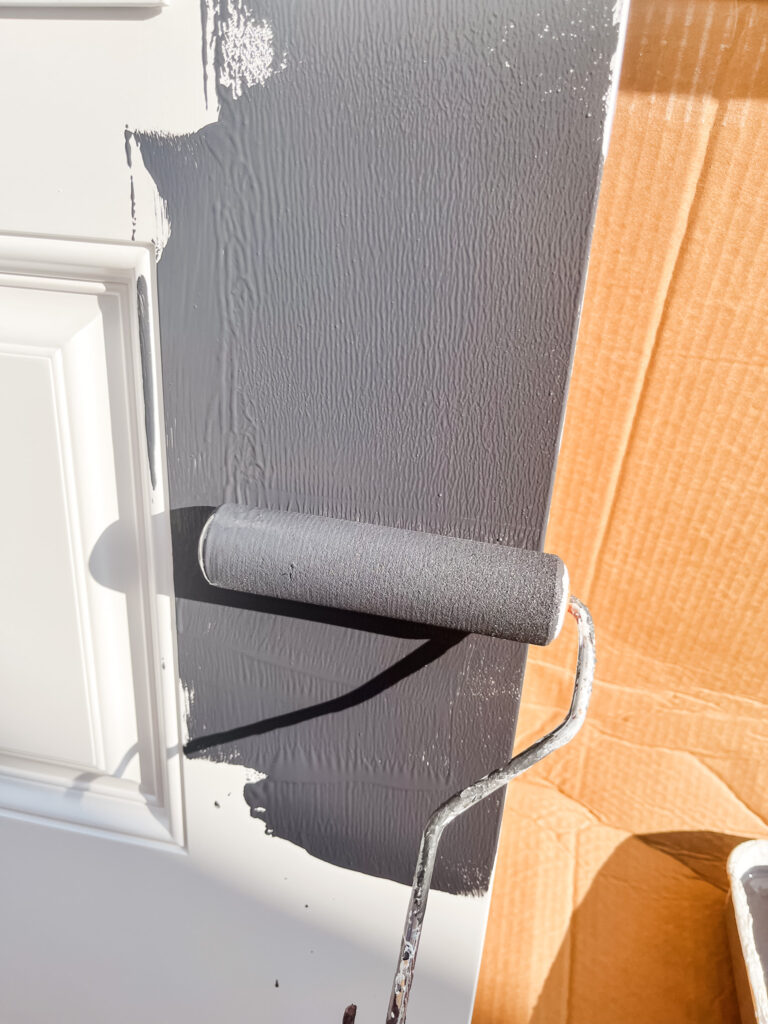
For the painting tools, we used a combination of a paint roller and a brush. We let each coat of paint dry for 24 hours before adding another coat of paint. We ended up painting two coats of paint on each side of the door and then did a few touchups after that. After the first coat of paint dried, Jason lightly sanded the door using 180 grit sandpaper to ensure that the second coat of paint would adhere to the first coat of paint.

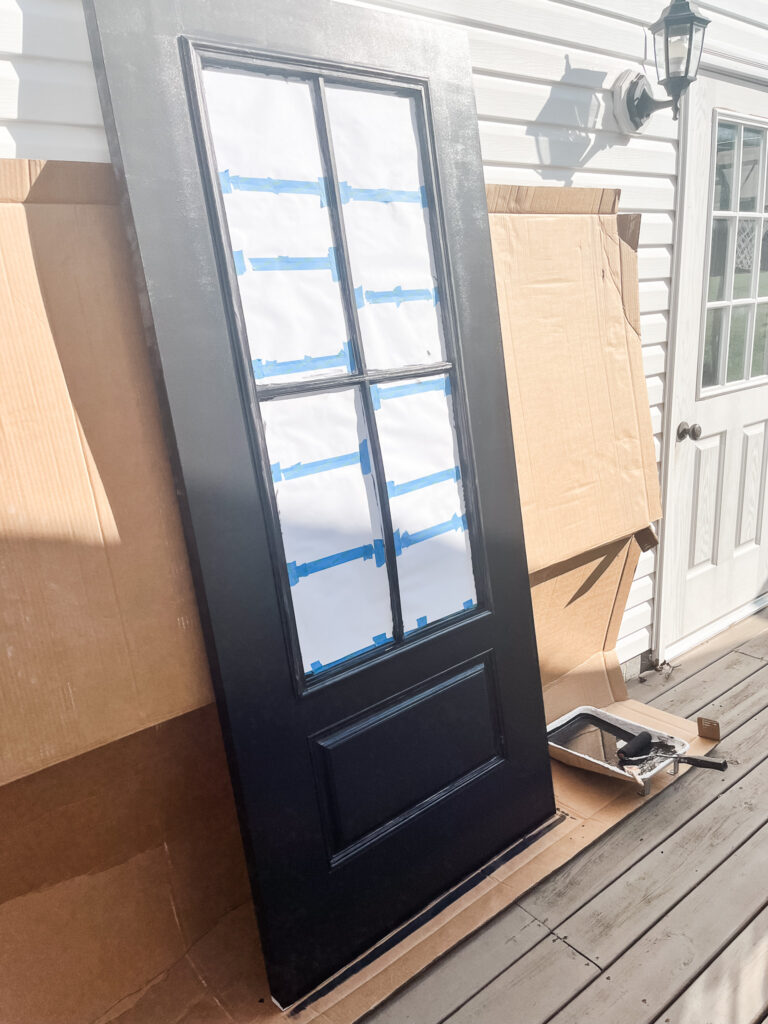
Here’s how the door looked while drying.
INSTALLING THE HARDWARE
Next up, we installed the hardware for this door. Instead of using the hardware we had for our old door, I got new hardware. I ordered this handleset with a door knob, rosette and deadbolt in the color antique brass. It has a traditional, vintage look which is exactly what I wanted. We also got the matching door hinges to make it all look uniform.
I love combining modern, vintage and traditional looks in my home, so the combination of the door and handle works perfectly in our home.
When measuring for your knob and dead bolt placement, it is recommended to lay your new door on top of your old door and then you can easily trace exactly where to route out for your lock as well as your hinges.
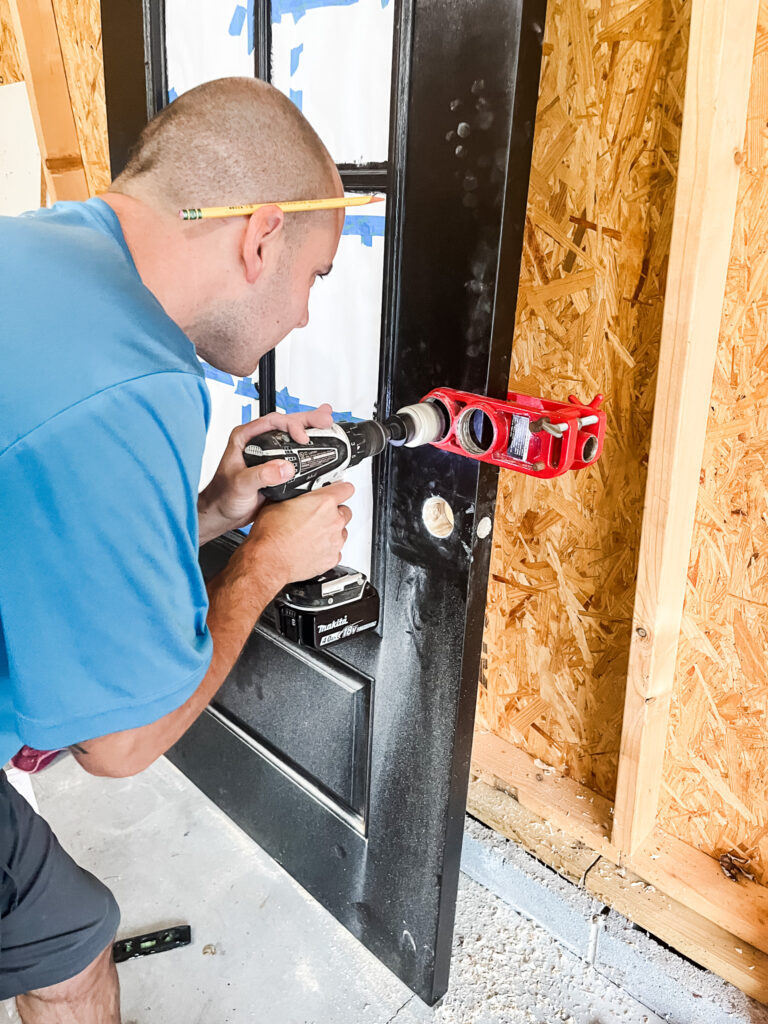
Jason used a 2 & 1/8” hole saw to drill out the holes for the door knob and the dead bolt.
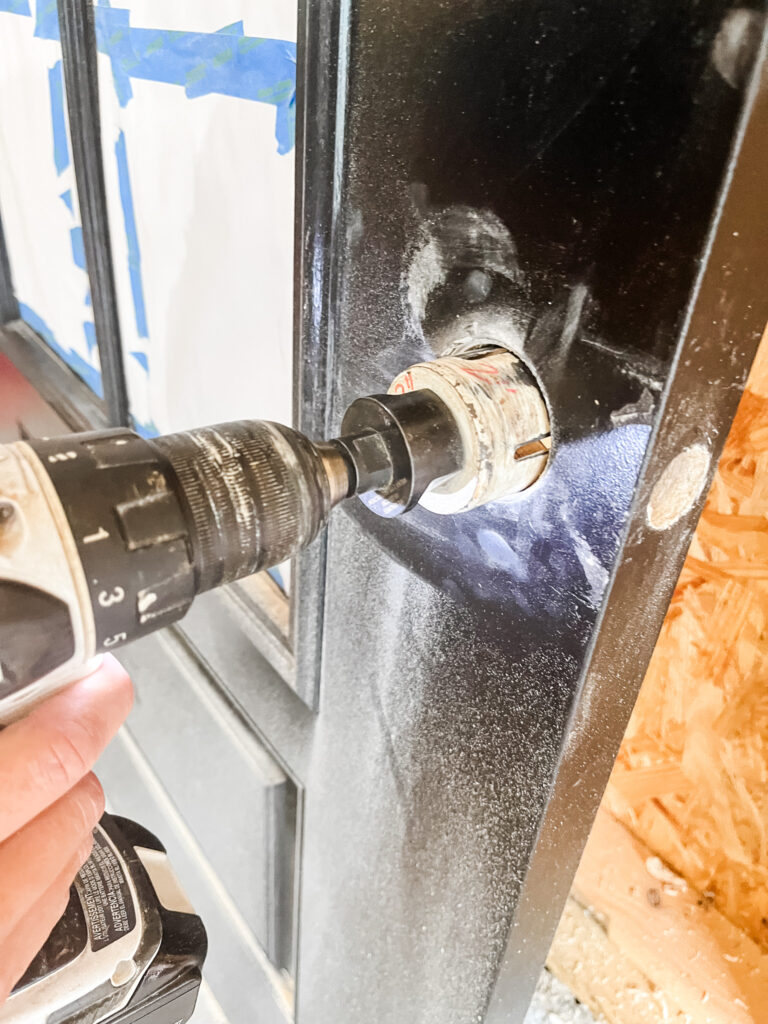
Jason used a 1” hole saw bit to cut the hole for the lock assembly. We were able to use items we already had to cut the holes, but you can get an installation kit which includes everything you need for door handle assembly.

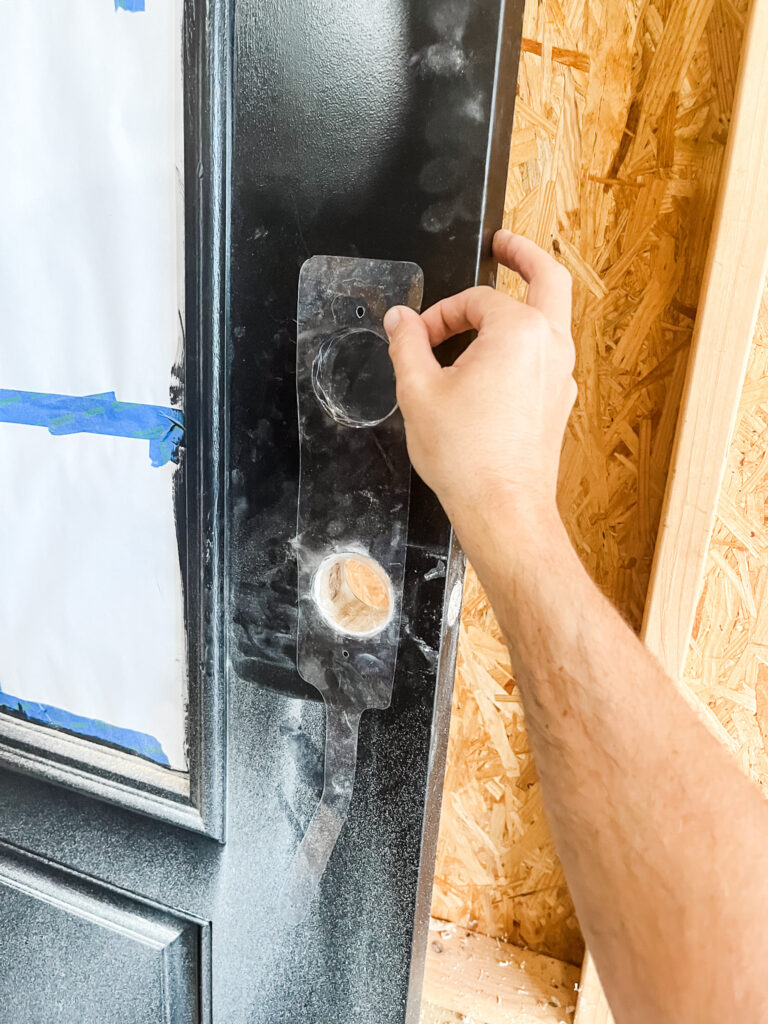
The template below came with the door handle set, which Jason used to get exact measurements between the holes.
Jason also notched out the faceplate area with a special tool called a deadbolt marker. This tool creates a clean cut, however you could also use a 1” chisel.
HANGING THE DOOR
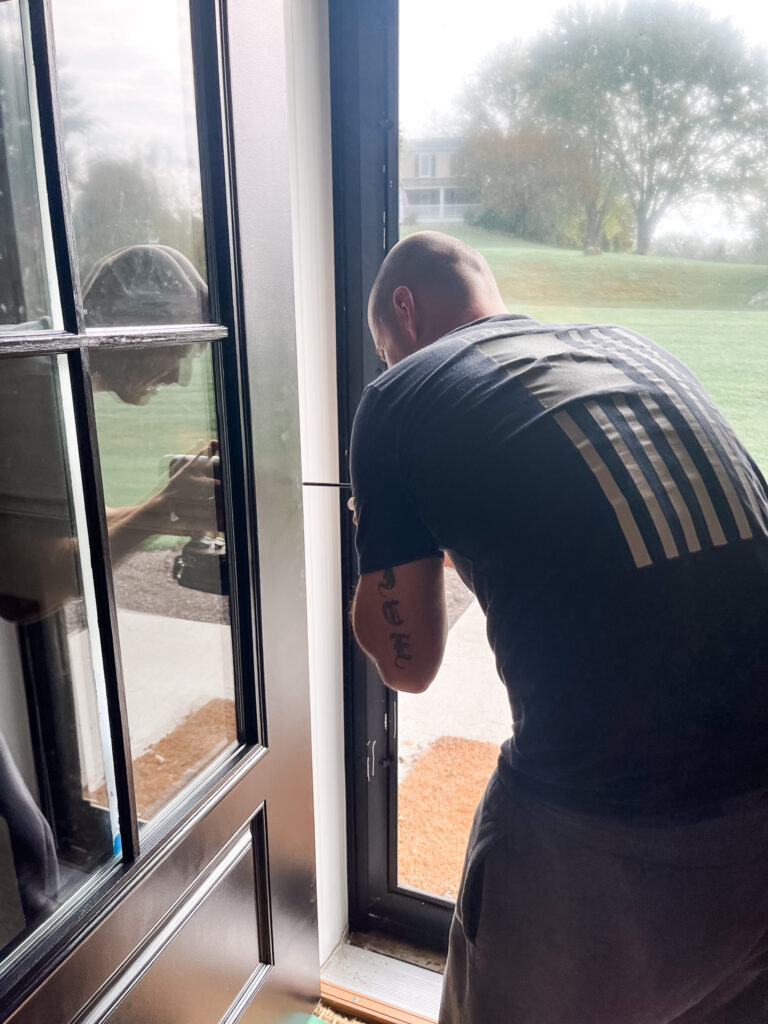
Before hanging the door, Jason screwed the new hinges to the door. It is recommended to lay your new door on top of your old door and then you can easily trace exactly where to route out for both your hinges and your lock.
Once the hinges were screwed onto the door, it was time to hang the door. To keep the door steady while screwing the door into the door jam, we used a couple small stacks of books under the door. This helped tremendously. I also helped hold the door while Jason screwed in the screws. The new door hinges we ordered aligned perfectly with the screw holes of our old hinges, so screwing in the screws was pretty simple.
PAINTING THE FRAME KIT AROUND THE GLASS
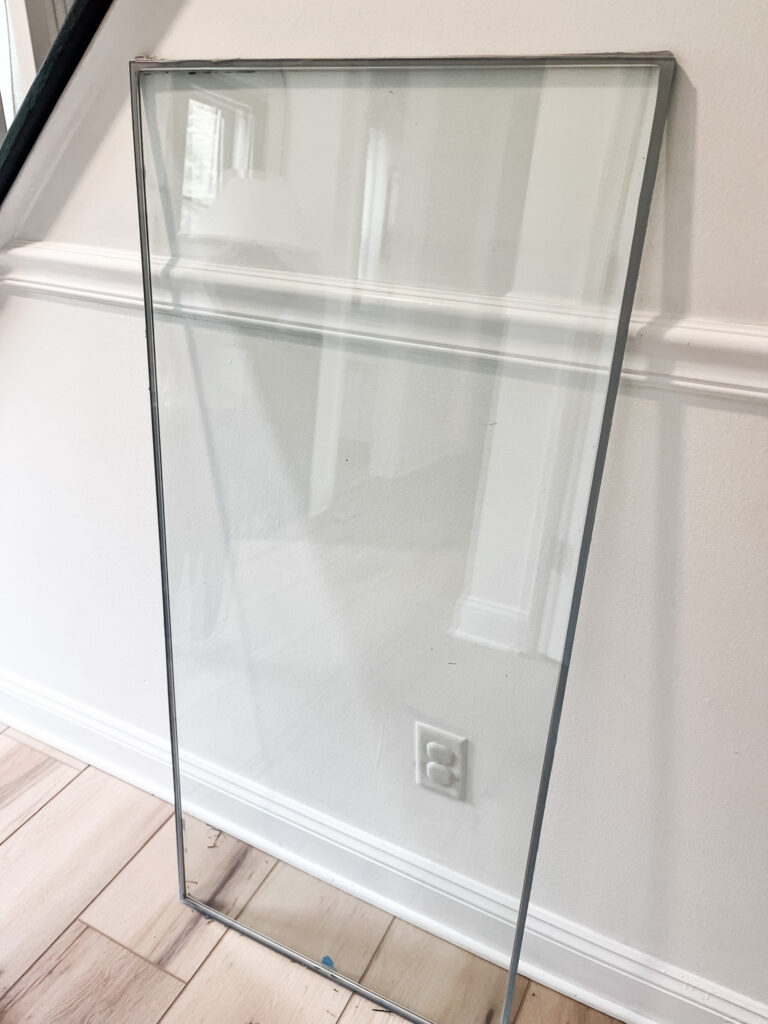
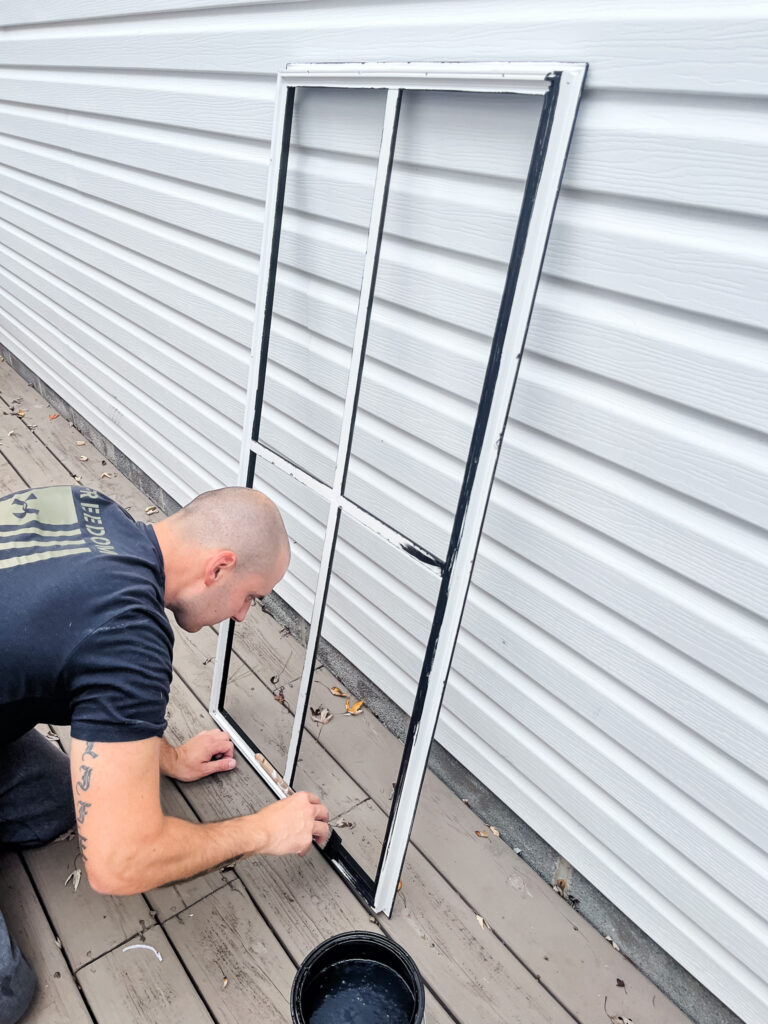
The last piece of this process was to finish up the paint. We realized afterward that this step probably should have been done earlier in the process, but nonetheless, we got it done. The great thing about the lite kit is that you can remove one side of the frame by unscrewing it. Then, the glass piece can come out. This leaves you with an opening to paint the backside of the remaining frame as well as the frame piece that was pulled out.
Below you can see where we removed one side of the frame and the glass.
Below you can see the glass piece that we pulled out from the frame set.
Here’s the piece of the frame that we unscrewed. We gave this two coats of black paint and when it was dry, screwed it back into the door.
THE FINISHED LOOK
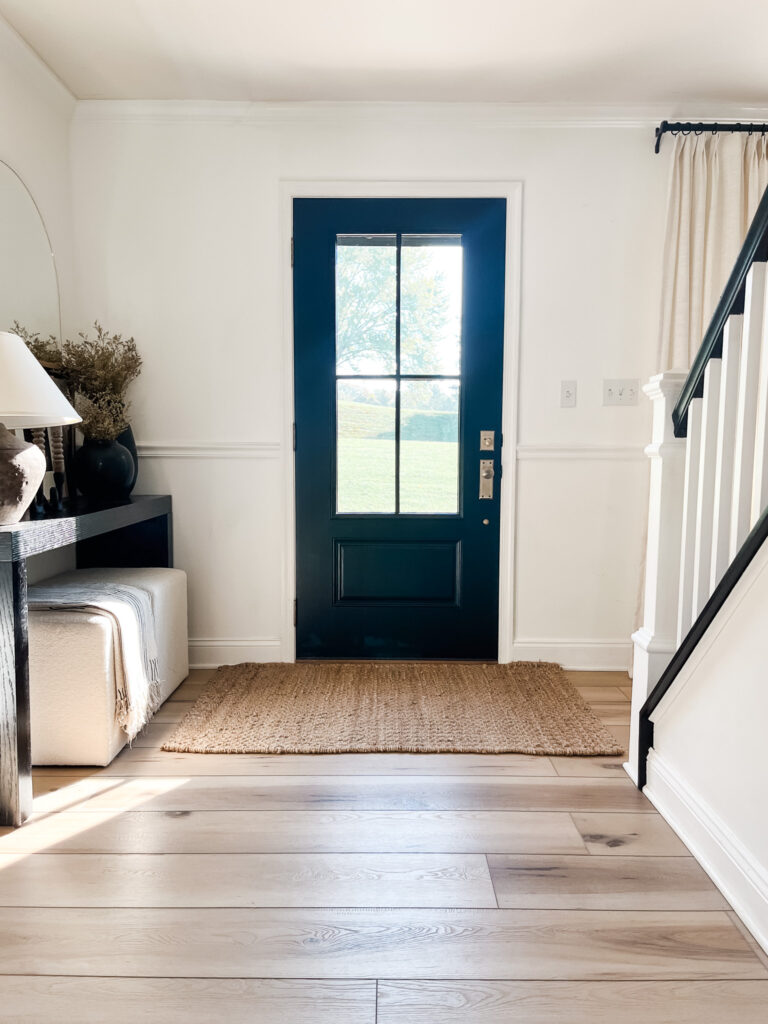
We are so thrilled with the final look of the door! It fits into our home so well! We can’t get over the amount of natural light it lets in the house. What was once a dark front entry is now a beautiful, bright front entry! I didn’t realize how much of an impact the new door would make, but now that it’s up, I realize just how much it improves our home.
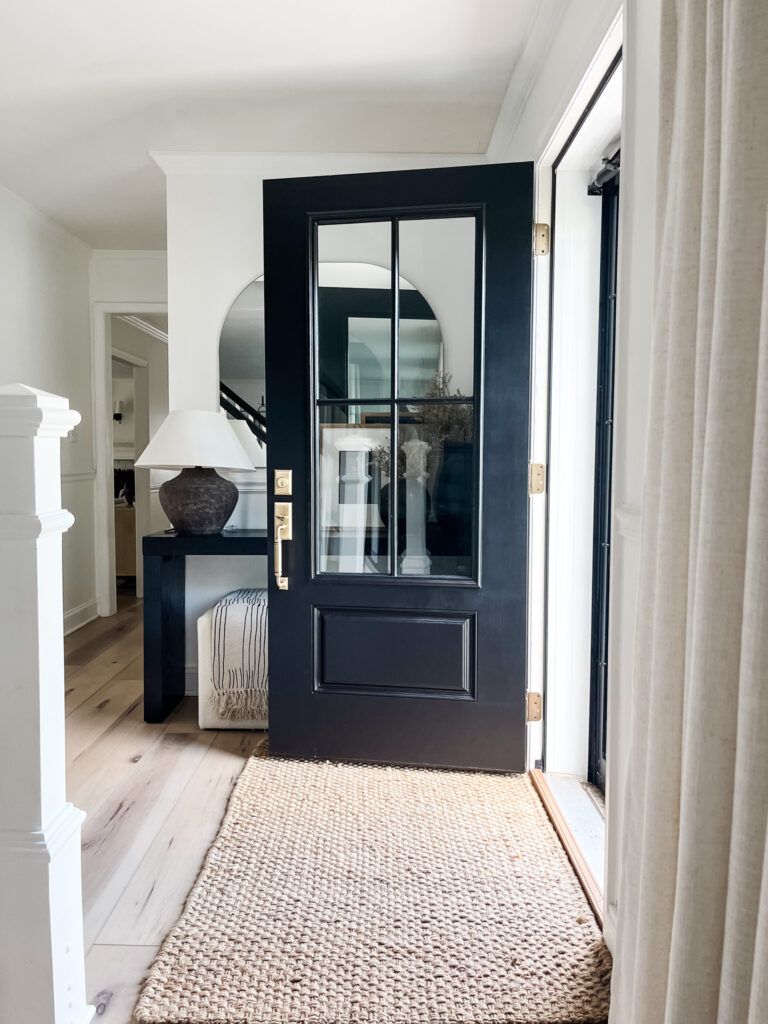
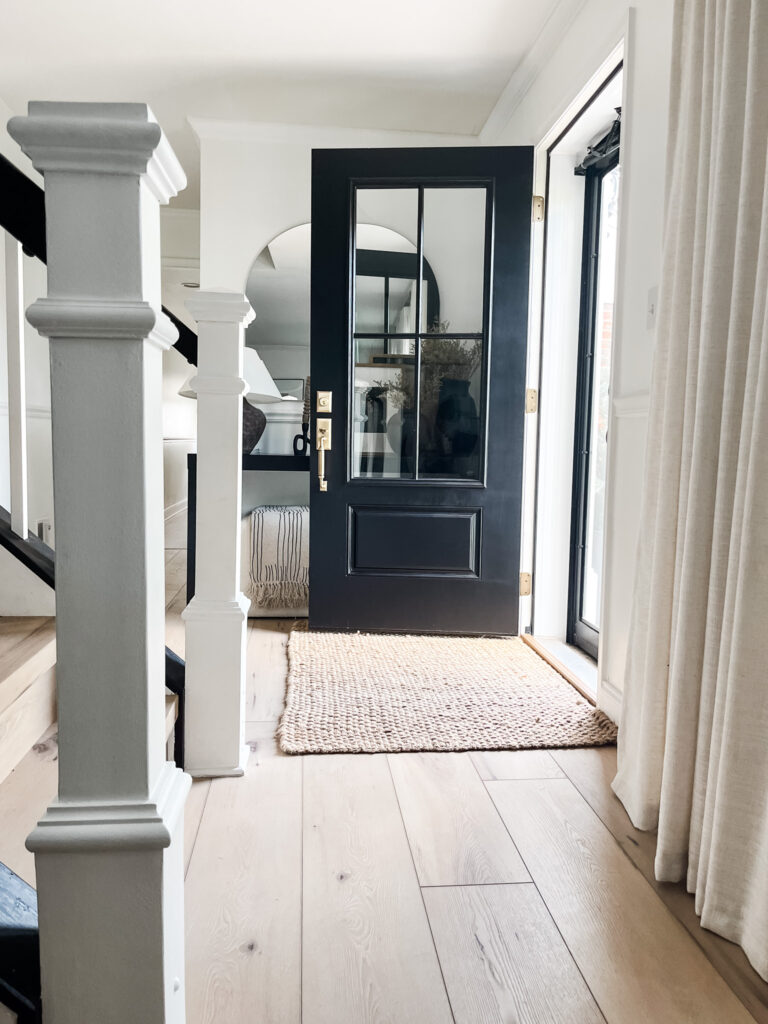
Below is a look at the front of the door. I’m so obsessed with how the antique gold hardware looks on the door!
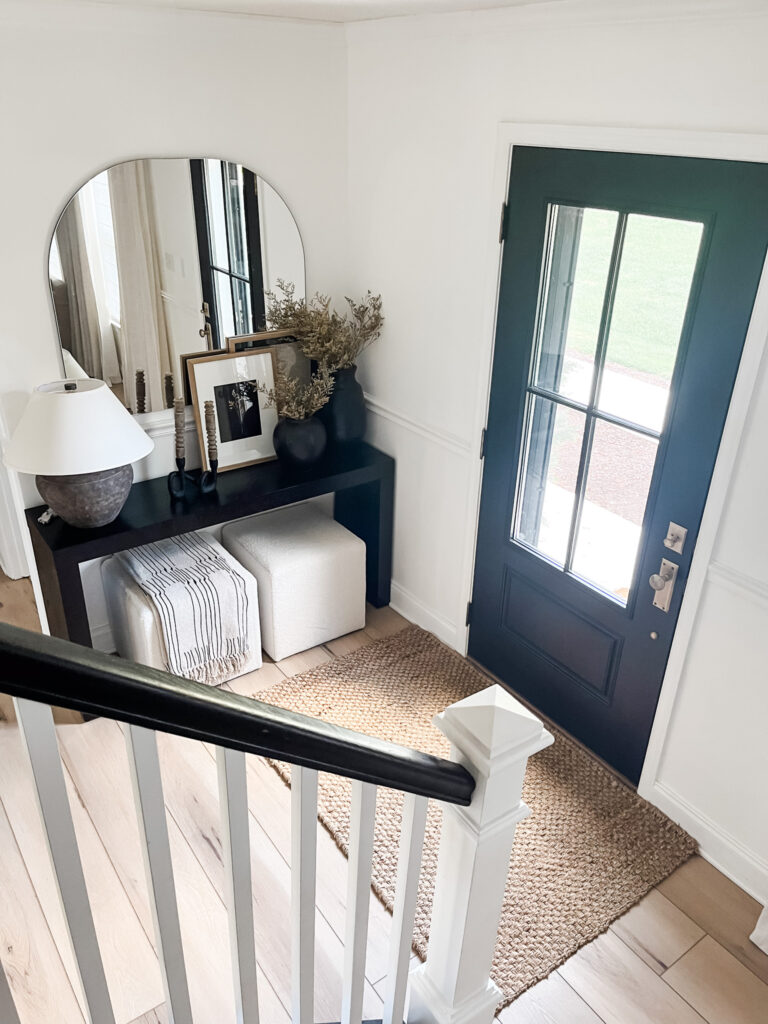
Below is a view of how our entry looks when coming down our staircase. This is the beautiful view we get to soak in every morning when we wake up and come downstairs.
LESSONS LEARNED & FINAL THOUGHTS
This door was actually our first door we ever installed. After going through the process, the change we would make is the order in which we did the tasks. We would have first made the cuts in the door, then hung it up, then painted the frame kit around the lite, then painted the door. Finally we would’ve installed the door knob. The only issue I see with this order is that the door would have to dry for awhile before installing the door knob, meaning you wouldn’t have anyway to lock the door for several hours.
Overall, the order in which we did the tasks did not effect the outcome of the door. We are incredibly happy with the final look of the door! It makes our home look so much better and lets so much more light inside.
Special thanks to Pease Doors for sponsoring this blog post. We absolutely love our new front door.